How to Add Chart of Accounts in Quickbooks
In this QuickBooks Desktop training, I'll show you how to edit the Chart of Accounts. I'll be using QuickBooks Accountant Desktop 2020 (also known as QuickBooks Premier).
Quick Instructions:
- In the Windows menu click Lists -> Chart of Accounts
- Add a new account
- Click Account -> New in the lower left-hand corner
- Select the type of account
- Click the blue Continue button
- Enter the accounts information
- Click the blue Save & Continue button
- Delete an account
- Click Account -> Delete Account in the lower left-hand corner
- Click the blue OK button on the pop-up
- Add a subaccount
- Click Account -> New in the lower left-hand corner
- Select the type of account
- Click the blue Continue button
- Enter the accounts information
- Check off the subaccount check-box
- Select the main account
- Click the blue Save & Continue button
- Edit an account
- Click Account -> Edit Account
- Change the fields you'd like to edit
- Click the blue Save & Continue button
- Add account numbers
- Click Edit -> Preferences in the top menu
- Selecting Account -> Company Preferences
- Check off the "Use account numbers" check-box
- Click the blue OK button
Keep reading for full instructions with screenshots.
To navigate to the Chart of Accounts click on Lists in the Windows menu and then Chart of Accounts.
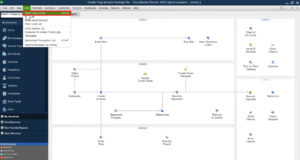
When your Chart of Accounts opens you'll see the default list. In the screenshot below you can see the default list for a consulting business.
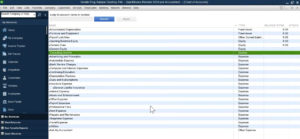
On the left-hand side is the names of the accounts. While on the right-hand side you see what type of accounts they are.
The only income in the list is Consulting Income (highlighted green). And, there are no bank accounts.
Adding New Accounts
To add a bank account click on the Account button in the lower left-hand corner then select New.
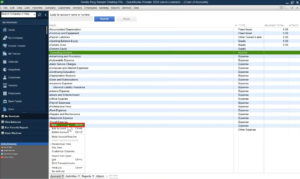
Select Bank from the list of accounts and click the blue Continue button.
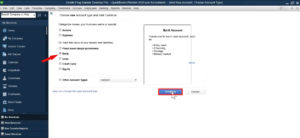
This will bring you to a page where you enter the information for your bank account.
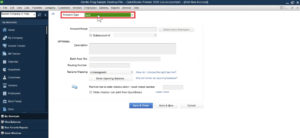
Enter your bank accounts information. Including the name, account number, routing number, etc. Then click the blue Save & Close button.
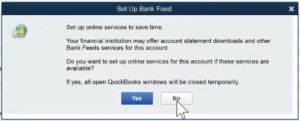
A pop-up will appear asking if you'd like to set up bank feeds. We do want to set up bank feeds but I'll show you how to do that in a future tutorial.
Now I can see the Checking account in my Chart of Accounts.
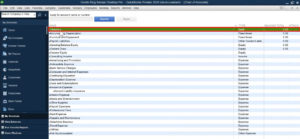
I'm going to go ahead and add a second income account.
Click on the Account button in the lower left-hand corner then select New. Like you did when creating the checking account.
This time I'll select "Income" as the category and then click the blue Continue button.

At the top of the screen, it shows we're creating an Income Account Type. You can click this drop-down and select a different account type if you selected the wrong type on the previous page.
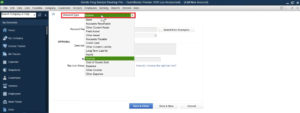
Enter a name for your account. Everything else on the page is optional, you can add it if you'd like. Then click the blue Save & Close button.
Deleting an Account
Next, we're going to take a look at the expenses.
There's an expense labeled "Computer and Internet Expenses" that I don't need. I'm going to show you how to turn-off/hide this account.
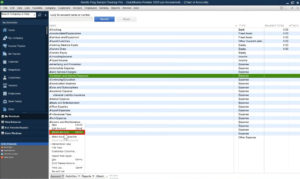
Click on the Account button in the lower left-hand corner then select "Delete Account."
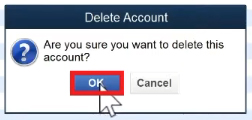
A pop-up will appear asking if you're sure you want to delete the account. Click the blue OK button.
Adding a Subaccount
There's an Insurance Expense account that has a subaccount General Liability Insurance.
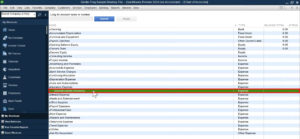
For my business I don't just have General Liability Insurance. I also have Professional Liability Insurance. I'm going to add that as another subaccount.
Click on the Account button in the lower left-hand corner then select New. This time I'll select Expense before click the blue Continue button.
Enter the acccount's name then check off "Subaccount" under the Account Name field. Select the main account from the drop-down. Then click the blue Save & Close button.
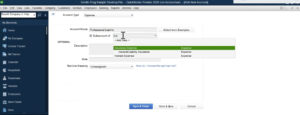
I now have two subaccounts under the Insurance Expense.
Editing an Account
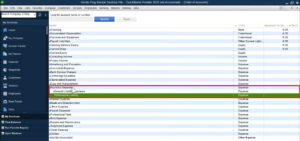
Now let's change the name of an account. I'm going to change the "Office Supplies" expense to "Office Expense."
Select the account you want to rename. Then click on the Account button in the lower left-hand corner and select Edit Account.
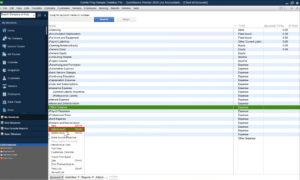
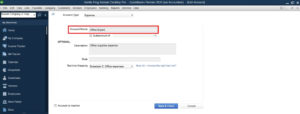
The next screen will look like the one you saw when creating an account. Except that the information for the account is already populated. Edit the fields you'd like to change and click the blue Save & Close button.
If you find there's an account that you wish you had please add it. If there's an account that doesn't apply to your business feel free to delete it.
Adding Account Numbers
If you'd like to use account numbers click Edit in the top menu then select Preferences.
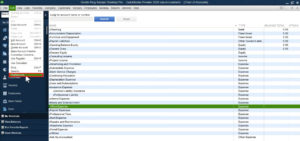
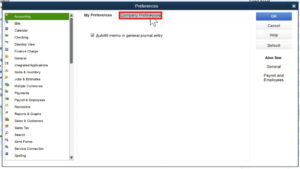
The Preferences pop-up will appear. On the left-hand side select Accounting. On the right-hand side select the Company Preferences tab.
Under ACCOUNTS check off "Use account numbers" then click the blue OK button to the right.
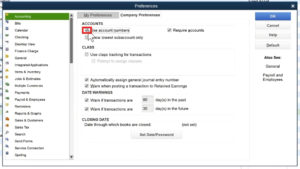
You'll now see account numbers to the left of your accounts.
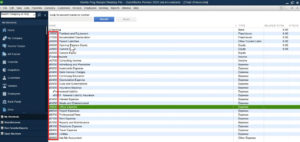
If any of your accounts don't have account numbers you can easily add them.
Select the account you want to add an account number to. Then click on the Account button in the lower left-hand corner and select Edit Account.
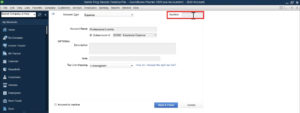
On the editing screen you'll now see a Number box in the upper right-hand corner. This is where you enter the account number. Then click the blue Save & Close button.
If you have any questions about modifying your Chart of Accounts in QuickBooks Desktop please ask them in the comments. Or click the green button below to schedule a free consultation.
If you'd like to watch me walk through this process check out the video below:
How to Add Chart of Accounts in Quickbooks
Source: https://www.gentlefrog.com/how-to-modify-the-chart-of-accounts-in-quickbooks-desktop/